The other day I noticed the headlight on my motorcycle was out. I wondered how long it had been this way and started looking around the light for ways to replace and adjust it.
How do you properly aim the headlight on your motorcycle? Adjust your motorcycle headlight in three phases. First, you set up the target area to determine where to locate the light. Next you adjust the light. Last, double check the high and low beams.
Before we get into the step-by-step process, know that you will need a few items to complete the task properly. You will most of these items lying around your house, in your toolbox, or the neighbor’s garage
| ITEM | PURPOSE |
| Tape Measure | You will need to measure a few things. |
| Tape or chalk | To make lines on the wall. |
| Flat wall | To give you surface for aiming the light. |
| Screw Driver | To do the adjusting. |
| Construction level | To make a cross on the wall. |
Phase 1: Set Up To Work On Your Motorcycle Headlight
The first phase is gathering the tools and preparing for the work. It may seem like a waste of time to prepare even for the simplest jobs, but after many years of working on cars, trucks, and motorcycles, it saves you time. Plus, it helps you think through the process which minimizing surprises.
Step 1.
Locate the tools listed above. Working on a motorcycle is much easier when all the tools are by your side ready.
Pro-Tip: Besides gathering the proper tools for the job, I like to have a container or box to place my tools and one possibly for parts such as screws, nuts and bolts. This helps keep you organized as you work on the motorcycle.
Step 2.
Locate a flat surface to aim your headlight against. Do not pick just any wall. Avoid using a wall with items already on it.
I can remember the first time I adjusted a car headlight. I used a wall in my garage where my toolbox sat. It seemed easy enough to estimate where the headlight should be. After adjusting the light, I found out not having flat surfaces distort the adjustments you make.
Avoid using a wall with siding. I saw an article on this topic recently and the instructions show using a wall with outside siding. This will make things difficult when establishing he proper position of the head with the cross we use in a later step.
Pro-Tip: Use a lightly colored wall. This will ensure the cross you make later shows up. If you do not have a lightly colored wall, then see if you can use a brightly colored tape to contrast the
Step 3.
Place your motorcycle 25-30 feet away from the wall. You want to give yourself some distance to see how the adjustments you make affect the beam.
A few articles will tell you specifically to place the motorcycle 25 feet away from the wall. In fact, the directions may be specific enough telling you to place the front axle 25 feet away from the wall.
I do not agree with the exactness of these directions for a few reasons.
- The distance between oncoming cars and motorists coming to and moving away from you will be changing. The exact placement of the light changes relative to the positioning of the motorcycle.
- The point of adjusting the light is threefold: 1. To ensure the rider can see while riding at night. 2. To make other motorists aware of the rider. 3. To keep the motorcycle headlight out of the eyes of other motorists. This does not happen at 25 feet.
The 25 to 30 feet gives a good approximation of how to address the points I just mentioned. The final step lets you know if the headlight is in the right spot.
Step 4.
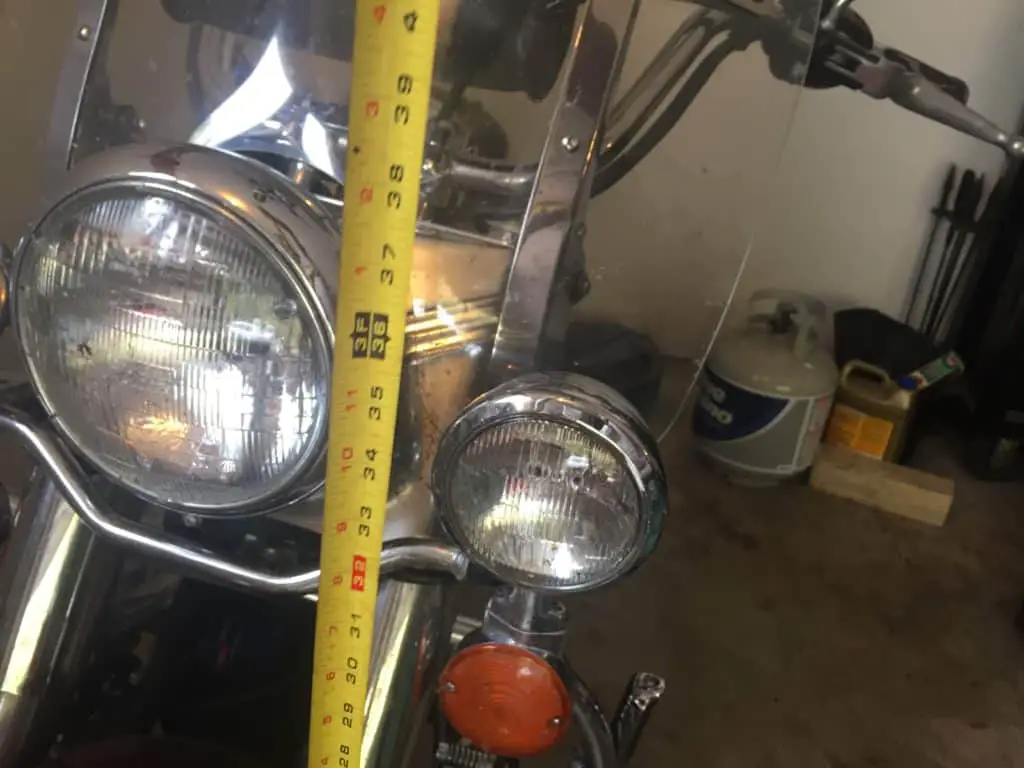
With someone sitting on the bike and holding it level, measure from the center of the headline to the ground.
You may wonder why I specifically mentioned having someone (roughly the same weight) sit on the bike and holding it level.
A person of roughly the same weight needs to sit on the motorcycle because your suspension compresses. As the rear suspension compresses, it changes the angle of the headlight so it faces up. If you do not have the suspension compressed, the headlight will not be in the correct position when you ride.
This can make the headlight shine right in the eyes of oncoming traffic. Talk about annoying.
The motorcycle needs to be level because when the bike is on the kickstand, the light angle will not be in the riding position when it is the most important.
Step 5.
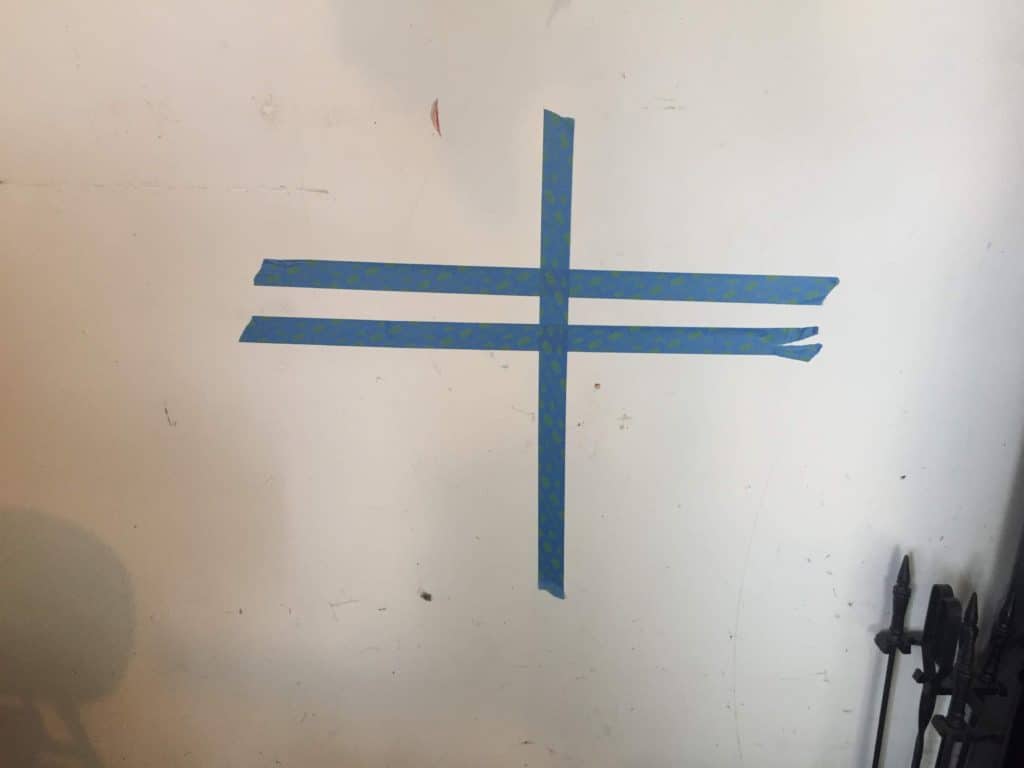
Go over to the wall and make a horizontal line at the same distant from the ground as the middle of your headlight. The line should be approximately two to three feet wide.
This line provides a reference for how far up or down you are adjusting the light.
You will make another horizontal line two inches below the first horizontal line. The second line will give a reference on where we want the light to shine. Make this second line the same length as the first line.
Pro-Tip: Instead of marking your wall up with pens, markers, or pencils, try using tape. You only need to put a small line on the wall with a pencil to be erased later. Use the small lines as guides for placing the tape on the wall.
Step 6.
Find the middle point of the two lines you made in step 5. Draw a vertical line from the floor or ground to two feet above the top horizontal line.
This reference line gives you the perspective on how far right or left you are adjusting the headlight.
Step 7.
Now you will look for the adjustment screws. Many times they have a spring on them and are located at the bottom or side of the headlight.
I would love to post a few pictures here, but in all reality it would make things confusing for you. Each model and even different years on the same model can locate the screws differently or have different ways to adjust the headlight.
If you can not figure it out, I suggest doing a quick Google search for (model and year) headlight adjustment or (model and year) headlight adjustment screw. For example, 1984 GPZ 1100 headlight adjustment. Then click on images to see if the pictures can help locate the screw.
You can also try searching YouTube with similar phrasing. I would give you a word of caution though. Some people do not understand what they are really doing.
Pro-Tip: You may need to remove the fairing or windscreen to access the adjustment screws.
Step 8.
Turn on the low beams to see if the upper cutoff point of the light rests on the intersection of the lower and horizontal lines.
If not, take the time to make the proper adjustments until everything lines up.
Step 9.
Turn on the high beams to see if the upper cutoff point of the light rests on the intersection of the lower and horizontal lines.
If not, take the time to make the proper adjustments until everything lines up.
Step 10.
Have your buddy get off the bike, clean up the tools, wall and tape.
Step 11.
Go for a ride.
As you can see from the steps listed above, I mainly wrote this information to address the street riding crowding. There are still further points among street riders that we did not cover. We did not cover other bikes with lights like enduros or ATVs. The same general steps apply but will be modified slightly for each application. The next section will give you some information to help in those areas.
Adjusting Multiple Headlights On A Street Bike
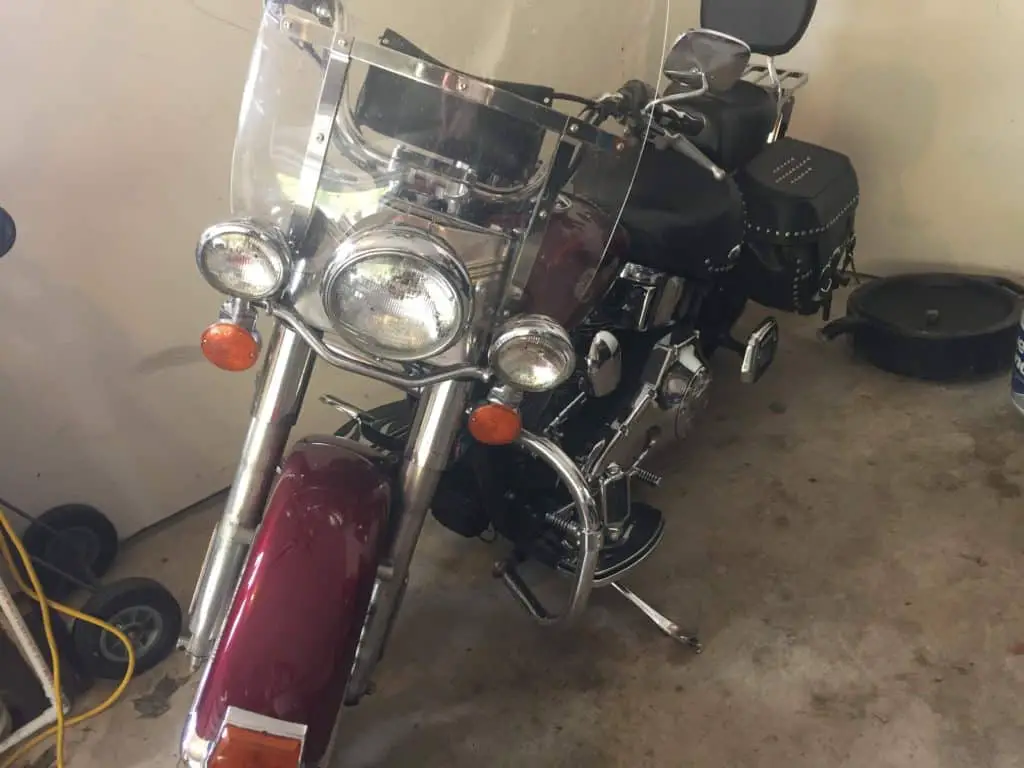
Many cruisers have over one headlight at the front of the motorcycle. If you look closely, you may find two additional lights, one on each side, of the main lamp. We know these additional lights as passing lights.
Sometimes the bike will come from the factory with the passing lamps already installed. Harley for example puts them on their touring models. If you desire the look and additional benefits of these passing lamps, check out the lamps at JP Cycles. If you order a kit, know that most only wire into and work on low beam.
These lights give the rider additional illumination for their path. As we talked about with the headlight, they will also make you more visible to your fellow motorists. Lastly and least important, they look cool.
One additional benefit I like is the location of the turn signals. On most bikes they are on the handlebars and the bar for the passing lights moves them to a more forward and more visible position on the motorcycle.
TOOLS
You will probably need a different set of tools for adjusting these passing lights. I know Harley likes to use alan head bolts. For metric cruisers, take the time to study what you need before you start.
How do you adjust the passing Lights on your motorcycle?
Step 1.
Turn on your ignition and check for proper operation. Check all of your lights including, turn signals, low beam, high beam, and that the passing lights go out on high beam.
You do this now because it can help you from finding something broke later. What better time to find a problem, than when you are already doing work on that part of the bike.
Step 2.
Cover the painted surface of the front fender just in case you drop a part or tool on it. You do not want to chip your paint.
Step 3.
Loosen the turn signals below the passing lamp.
As you remove the turn signal, hold the lamp assemble as still as possible. This keeps the wire from rubbing and getting cut. You can also benefit by having someone hold the light while you work with the bolts taking the turn signal off. Sometimes these bolts are hard to reach and you need both hands.
Once the turn signal is loose, grab a clean shop towel and wrap it around the turn signal lamp. Place tape around the towel and the lamp for protection in case parts start bumping into each other. Your turn signal may hang freely in this location.
Pro-Tip: On some Harley models you will need to remove the windshield. The Roadking is one example where the headlight needs removed.
Step 4.
You may need to purchase a special socket to loosen the nut on the bottom of the passing light. The socket will have an opening to accommodate the wire hanging out of the bottom of the light.
You can purchase these sockets, but as you can imagine they are rather expensive.
You will turn the nut about 1/3 to 3/4 of a turn. Now you should be able to move the passing lamp, forward, backward, and side-to-side.
Pro-Tip: You can also make your own, by using a deep well socket and cutting a slot down the side. If you do this, use an old socket or buy a cheap one. Make sure you take the time to get the burrs off the cutline as they can still damage the wire.
Step 5.
For step 5, you have two methods for adjusting the passing lamps. One method, the Aesthetic Method, worries more about how the bike looks and does not place as much emphasis on the function. The second, the Functional Method, tries to get as much usefulness from the passing lights as possible.
The Aesthetic Setting For Motorcycle Passing Lights
This method will have you follow the steps above listed for the headlight with a few modifications.
- Make sure you measure from the center of the headlight to each passing lamp. Put a parallel vertical line on the way to use as your guide.
- Make sure you were adjusting the lines so the headlamp and passing lamps shine on your wall in a straight line.
- When you finished, look at the lights on the bike, do they look like they sit on the bike at the same angle? If yes, you are done. If not, keep adjusting.
Here is a nice touch from JP Cycle to add to your cruiser headlight. The extra chrome is nice and it helps keep glare down.
The Functional Setting For Motorcycle Passing Lights
This method creates the most use for the lights.
1. Make sure you measure from the center of the headlight to each passing lamp. Put a parallel vertical line on the way to use as your guide.
2. Adjust the left passing lamp so it shines just inside the left line on the wall and down a touch from the headlamp. This gives you the additional illumination on the left side of the road without bothering on coming traffic. The right light should be just outside the line and up from the headlamp. Here you get additional lighting on the ride side. Think about how beneficial it is to see deer and other things on the side of the road.
Step 6.
Tighten your lights backup
Step 7.
Do a ride by with a buddy to check and make sure the new settings to not bother oncoming traffic.
Step 8.
Pick up your tools and go for a ride.
Adjusting Your Enduro or ATV Headlight
This will be a topic that depends on the rider and conditions. Riding in the woods at night is different than riding on the street. The same principles apply about looking through the turns and having our light shine where you want the bike to turn.
The biggest difference is how quickly you need to react and how tight things are. When I was a kid riding my ATV, I adjusted the headlight, so it was like what I described above for the headlamp. When I rode in close quarters around trees, I shortened up the distance so it illuminated the ground closer to the ATV.
You will probably need to practice in a safe area to get a better idea of how you want the enduro headlight set.
Before you complete your next night ride, make sure you take 20-30 minutes to adjust your headlight. You and the other motorists will be happy you did.